
Call The Fence Warrior at 863-812-9397 for your FREE quote NOW!
Building a gate for a chain link fence: A Step by step guide
Chain link gates are essential for providing access to your property while maintaining security. Whether you’re installing a gate for your home, business, or recreational area, knowing how to do it correctly is crucial. In this comprehensive guide, we’ll take you through the step-by-step process of installing a chain link gate for your fence. From planning and gathering materials to installation and maintenance, you’ll become a gate installation pro.
Table of Contents:
- Introduction
- Planning Your Chain Link Gate
- Gathering Materials and Tools
- Measuring and Marking Gate Location
- Installing Gate Posts
- Hanging the Gate
- Adding Gate Accessories
- Regular Gate Maintenance
- Conclusion
1. Introduction
A chain link gate is not just an entry point; it’s a vital component of your fence system. Whether you’re looking to secure your property, keep pets in, or simply enhance convenience, a well-installed gate is key. In this guide, we’ll walk you through the process of installing a chain link gate correctly.
2. Planning Your Chain Link Gate
Before you start any project, planning is essential. Determine the purpose of your gate—security, convenience, or both. Measure the gate’s location and plan for its size and style to match your fence.
For detailed guidance on planning and designing your chain link gate, visit The Fence Warrior’s Chain Link Gate Planning.
3. Gathering Materials and Tools
To install a chain link gate, you’ll need the right materials and tools. These include gate panels, gate posts, gate hardware, concrete, post hole digger, level, measuring tape, and a saw. Make sure you have everything you need before you begin.
For information on materials and tools, visit The Fence Warrior’s Chain Link Gate Materials.
4. Measuring and Marking Gate Location
Precise measurements are crucial for a well-fitted gate. Use stakes and string to mark the gate location, ensuring it’s level and properly aligned with the fence.
For a step-by-step guide on measuring and marking the gate location, visit The Fence Warrior’s Gate Location Guide.
5. Installing Gate Posts
Gate posts are the foundation of your gate’s stability. Dig holes for the gate posts, ensuring they are deep enough for proper support. Mix and pour concrete to secure the posts.
For detailed instructions on installing gate posts, visit The Fence Warrior’s Gate Post Installation.
6. Hanging the Gate
Now comes the exciting part—hanging the gate. Attach the gate panels to the gate posts, ensuring they swing open and closed smoothly. Proper alignment and leveling are essential.
For a detailed guide on hanging the gate, visit The Fence Warrior’s Gate Hanging Process.
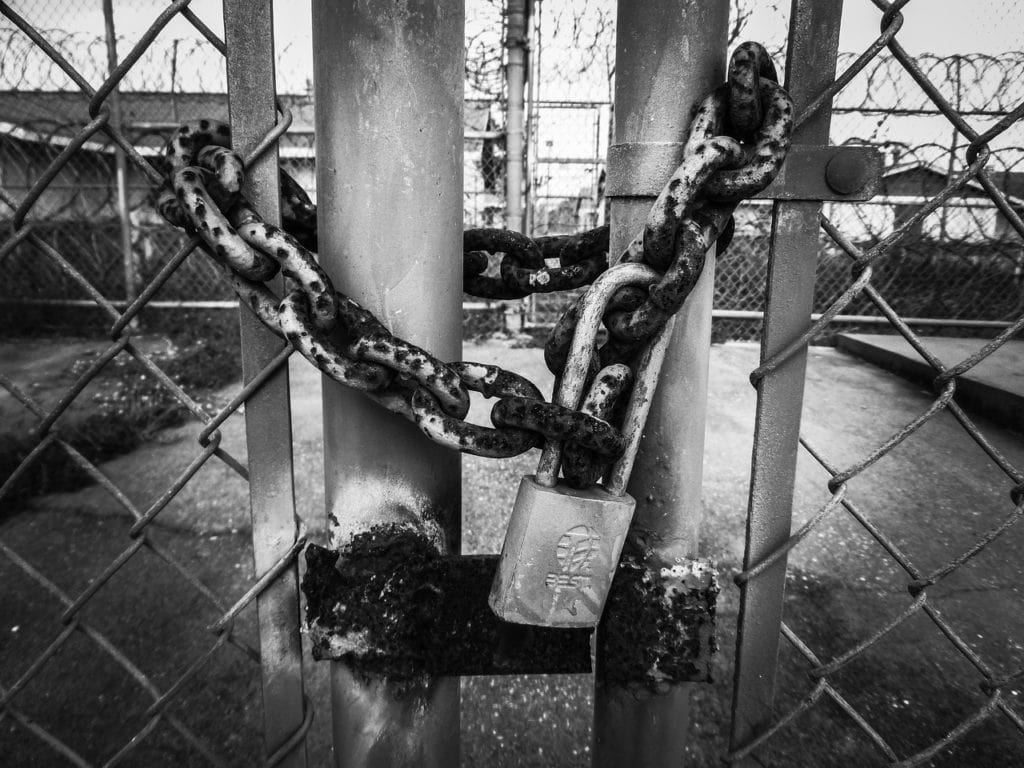
7. Adding Gate Accessories
Gate accessories enhance functionality and aesthetics. Consider adding gate latches, locks, and decorative elements to make your gate stand out and work effectively.
For instructions on adding gate accessories, visit The Fence Warrior’s Gate Accessory Installation.
8. Regular Gate Maintenance
To keep your chain link gate in top shape, regular maintenance is a must. Inspect the gate for any damage, lubricate moving parts, and make repairs promptly.
For maintenance tips and guidance, visit The Fence Warrior’s Gate Maintenance.
9. Conclusion
Installing a chain link gate is a rewarding project that adds functionality and security to your property. By following these steps and referring to The Fence Warrior for expert advice and materials, you can create a durable and functional chain link gate that serves your needs.
Whether you’re an experienced DIYer or new to fence construction, with proper planning and execution, your chain link gate will provide years of convenience and security.
Call The Fence Warrior at 863-812-9397 for your FREE quote NOW!
Call The Fence Warrior at 863-812-9397 for your FREE quote NOW!
Table of Contents
Toggle